You can get hundreds of channels with the right satellite TV. But with all those channels comes a lot of work. If you’re not sure how to set up your satellite TV and make it all work, here’s what you need to know:
Test your TV signal.
Before you can get started, you’ll have to test your TV signal. Make sure the TV is on and plugged in, then ensure the volume is turned up and not muted. Also, check that its input source is set to either “Satellite” or “Cable.” So if you’re using a satellite receiver, ensure it’s connected to your satellite dish.
Set up your satellite dish and receiver.
The next step is to mount the dish on a tripod and point it at the satellite. Then you’ll need to connect your receiver to the dish using a coaxial cable. If you have a satellite-ready TV, you can use an RF modulator to convert digital signals from the receiver into analog ones for your television or display device.
Before connecting anything up, make sure your dish is pointing at where you want it to be pointing (which should be towards your satellite). You may need assistance if you need to become more familiar with how dishes work!
Click here – The Importance of Having Well-Maintained Filters
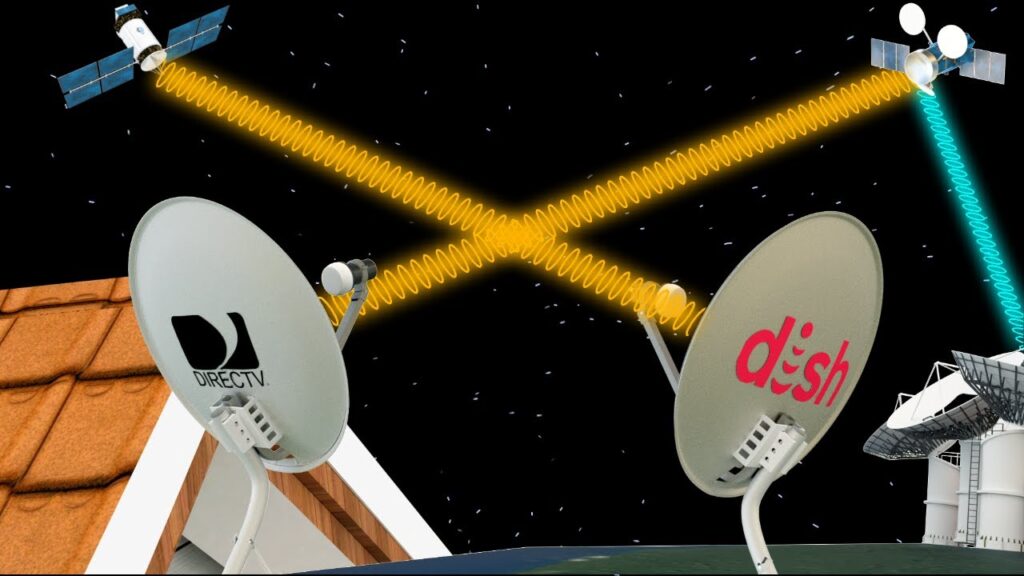
Aim your antenna for the best signal.
Aim the antenna toward your satellite. The goal is to have the antenna “see” as much of the sky as possible, so make sure it’s pointed straight up and not angled or upside down. It’s best if you can see both satellites at once.
For example, if you’re pointing it south (the direction of your first satellite), keep adjusting until you see two satellites. You may need to move the dish slightly left or right or up and down to get this effect—and again, be careful not to move too far because that could lead to losing signal altogether!
Connect with cables to the TV.
You’re almost there! If you still need to get a satellite receiver, buy one from one of the many available satellite tv providers and connect it to your TV. You can use any HDMI or other cable with an RCA audio/video connector—check its manual to ensure it’s compatible with your receiver.
Connect the receiver to power by plugging the AC adapter into an outlet, then connecting the other end of the AC adapter to your satellite tuner.
Connect your satellite dish’s coaxial cable to the output jack on your satellite tuner (for example), which is usually labeled “Out” or “Input.” If you have more than one input jack, use this one to connect your dish. Otherwise, you could damage both devices by exposing them to too much voltage when connecting them. Seek advice from professionals who have experience, such as those from DIRECTV.
Click here – Protection on the Move: Top Video Intercoms You Should Check Out
Connect to the power.
To connect to the power, plug the power cord into the power port on your satellite receiver and then plug it into a grounded outlet. Your TV should also be plugged into a grounded outlet at this point. If everything is connected correctly and you turn on the TV, you’ll see some green lights on your satellite receiver that indicate it’s receiving power and working properly.
Most people have yet to learn this, but there are several different ways that you can set up your dish. This article will give you a full run-through on how to do this so that you can watch TV in no time!