Winter is a time for wrapping up, keeping warm and battling the elements.
Not just for us. But our homes too.
When the temperature plummets, drains and outdoor pipes can freeze, leading to serious problems that can be expensive to fix.
In this blog, drainage systems experts Build Plumb Plastics Ltd look at the dangers caused by freezing pipes and offer some advice on how to winterproof our drains for the winter period.
Why does your home need winterproofing?
In winter, temperatures can dip below zero for days on end.
When it does, water in our drains freezes and expands, putting pressure on pipes, which can cause cracks and bursts in weaker areas.
Eventually, this damage can lead to leaks and flooding, causing damage to walls, floors, furniture and electrics.
Repairing this damage is expensive and can be dangerous when it comes to your home’s electrics.
In extreme cases, flooring and ceilings could fall through due to water damage if they become over saturated.
With hidden pipes – like those in our lofts – you may not notice the damage straightaway, resulting in bigger problems.
Freezing temperatures also cause issues for drains and grids. Solid debris and blockages like frozen leaves cause backups and stop water passing through, resulting in overflowing.
So, where can you start winterproofing your home drainage system?
Click here – Pain Relief Treatment: Using Red Light Therapy At Home
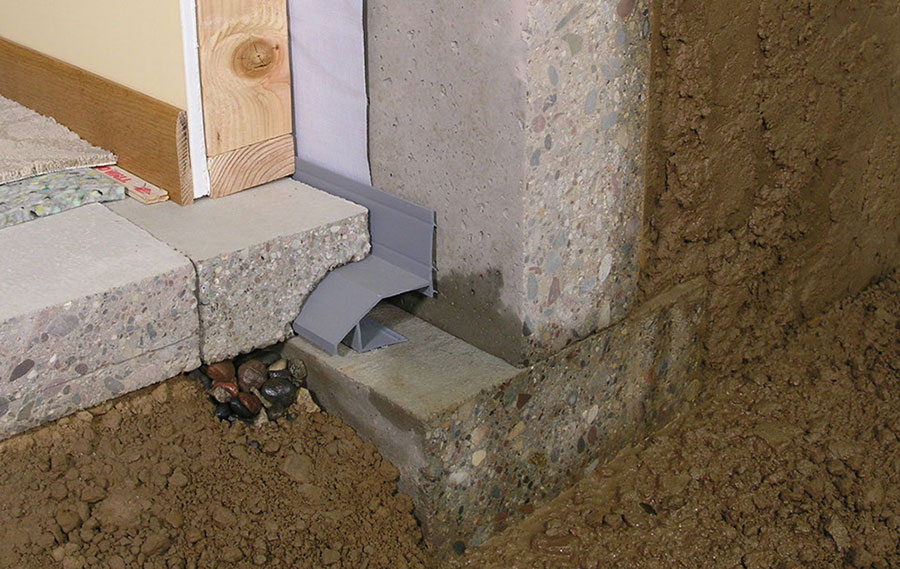
1 – Insulate your drainpipes
Insulating pipes, also known as lagging, keeps them at a safe temperature, preventing freezing.
The pipes most at risk from freezing are those in unheated places, such as attics and basements.
Insulating pipes is simple and affordable and can be done by wrapping them in foam.
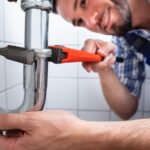
2 – Repair any leaks in your piping
An existing leak in your pipe will set you back before you’ve even started winterproofing.
Make it a priority to scope your home for potential leaks – simply turn your taps on and check to see if any are leaking.
Some are easily repairable using a DIY patch kit or replacement pipe.
However, any pipes that connect to your water mains or central heating need to be serviced by a qualified plumber.
3 – Fix draughts in your home
Small spaces under doors and masonry allow cool air from outside into homes. Draughts increase our energy costs and cause pipes to freeze and burst.
Stop draughts by plugging the gap using a draught extractor. Or you can use plastic, wood, or insulation.
4 – Drain outdoor taps
Piping connected to outdoor taps holds stagnant water. Draining them prevents this water from freezing and splitting your pipes. It’s fairly straightforward to do:
- Locate your shut-off valve – this could be in your basement or by your water metre.
- Shut off the water.
- Drain the outdoor pipe – open the outdoor tap to release any water. Here, we would also recommend keeping your hosepipe disconnected from the tap.
Keep the tap open and return to your shut-off valve.
Twist the small cap on the valve to drain the remaining water from the pipe (make sure you place a bucket below). Tighten the cap closed.
- Open the shut-off valve again to switch your water back on.
5 – Protect your grids
Clean your drain grates of leaves and debris to prevent solid objects from freezing and blocking the drain. Simply lift the grate to remove blockages.
You can do this by hand or drain rod if blockages have found their way into the drain.
Click here – What Are the Best Same Day Cash Loans Online 2023
Keep your pipes safe – winterproof your drainage system
Winterproof your home this winter to keep your drainage system working effectively. Leaving it too late could result in burst pipes and leaks which are avoidable.
It may be a good idea to hire a professional if you have any concerns regarding your piping. However, our top tips will ensure that these issues are significantly reduced.